Ford Parts Wiki | GM Parts Wiki
Home | Search | Browse
Prev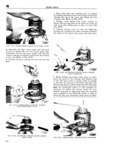
 Next
Next
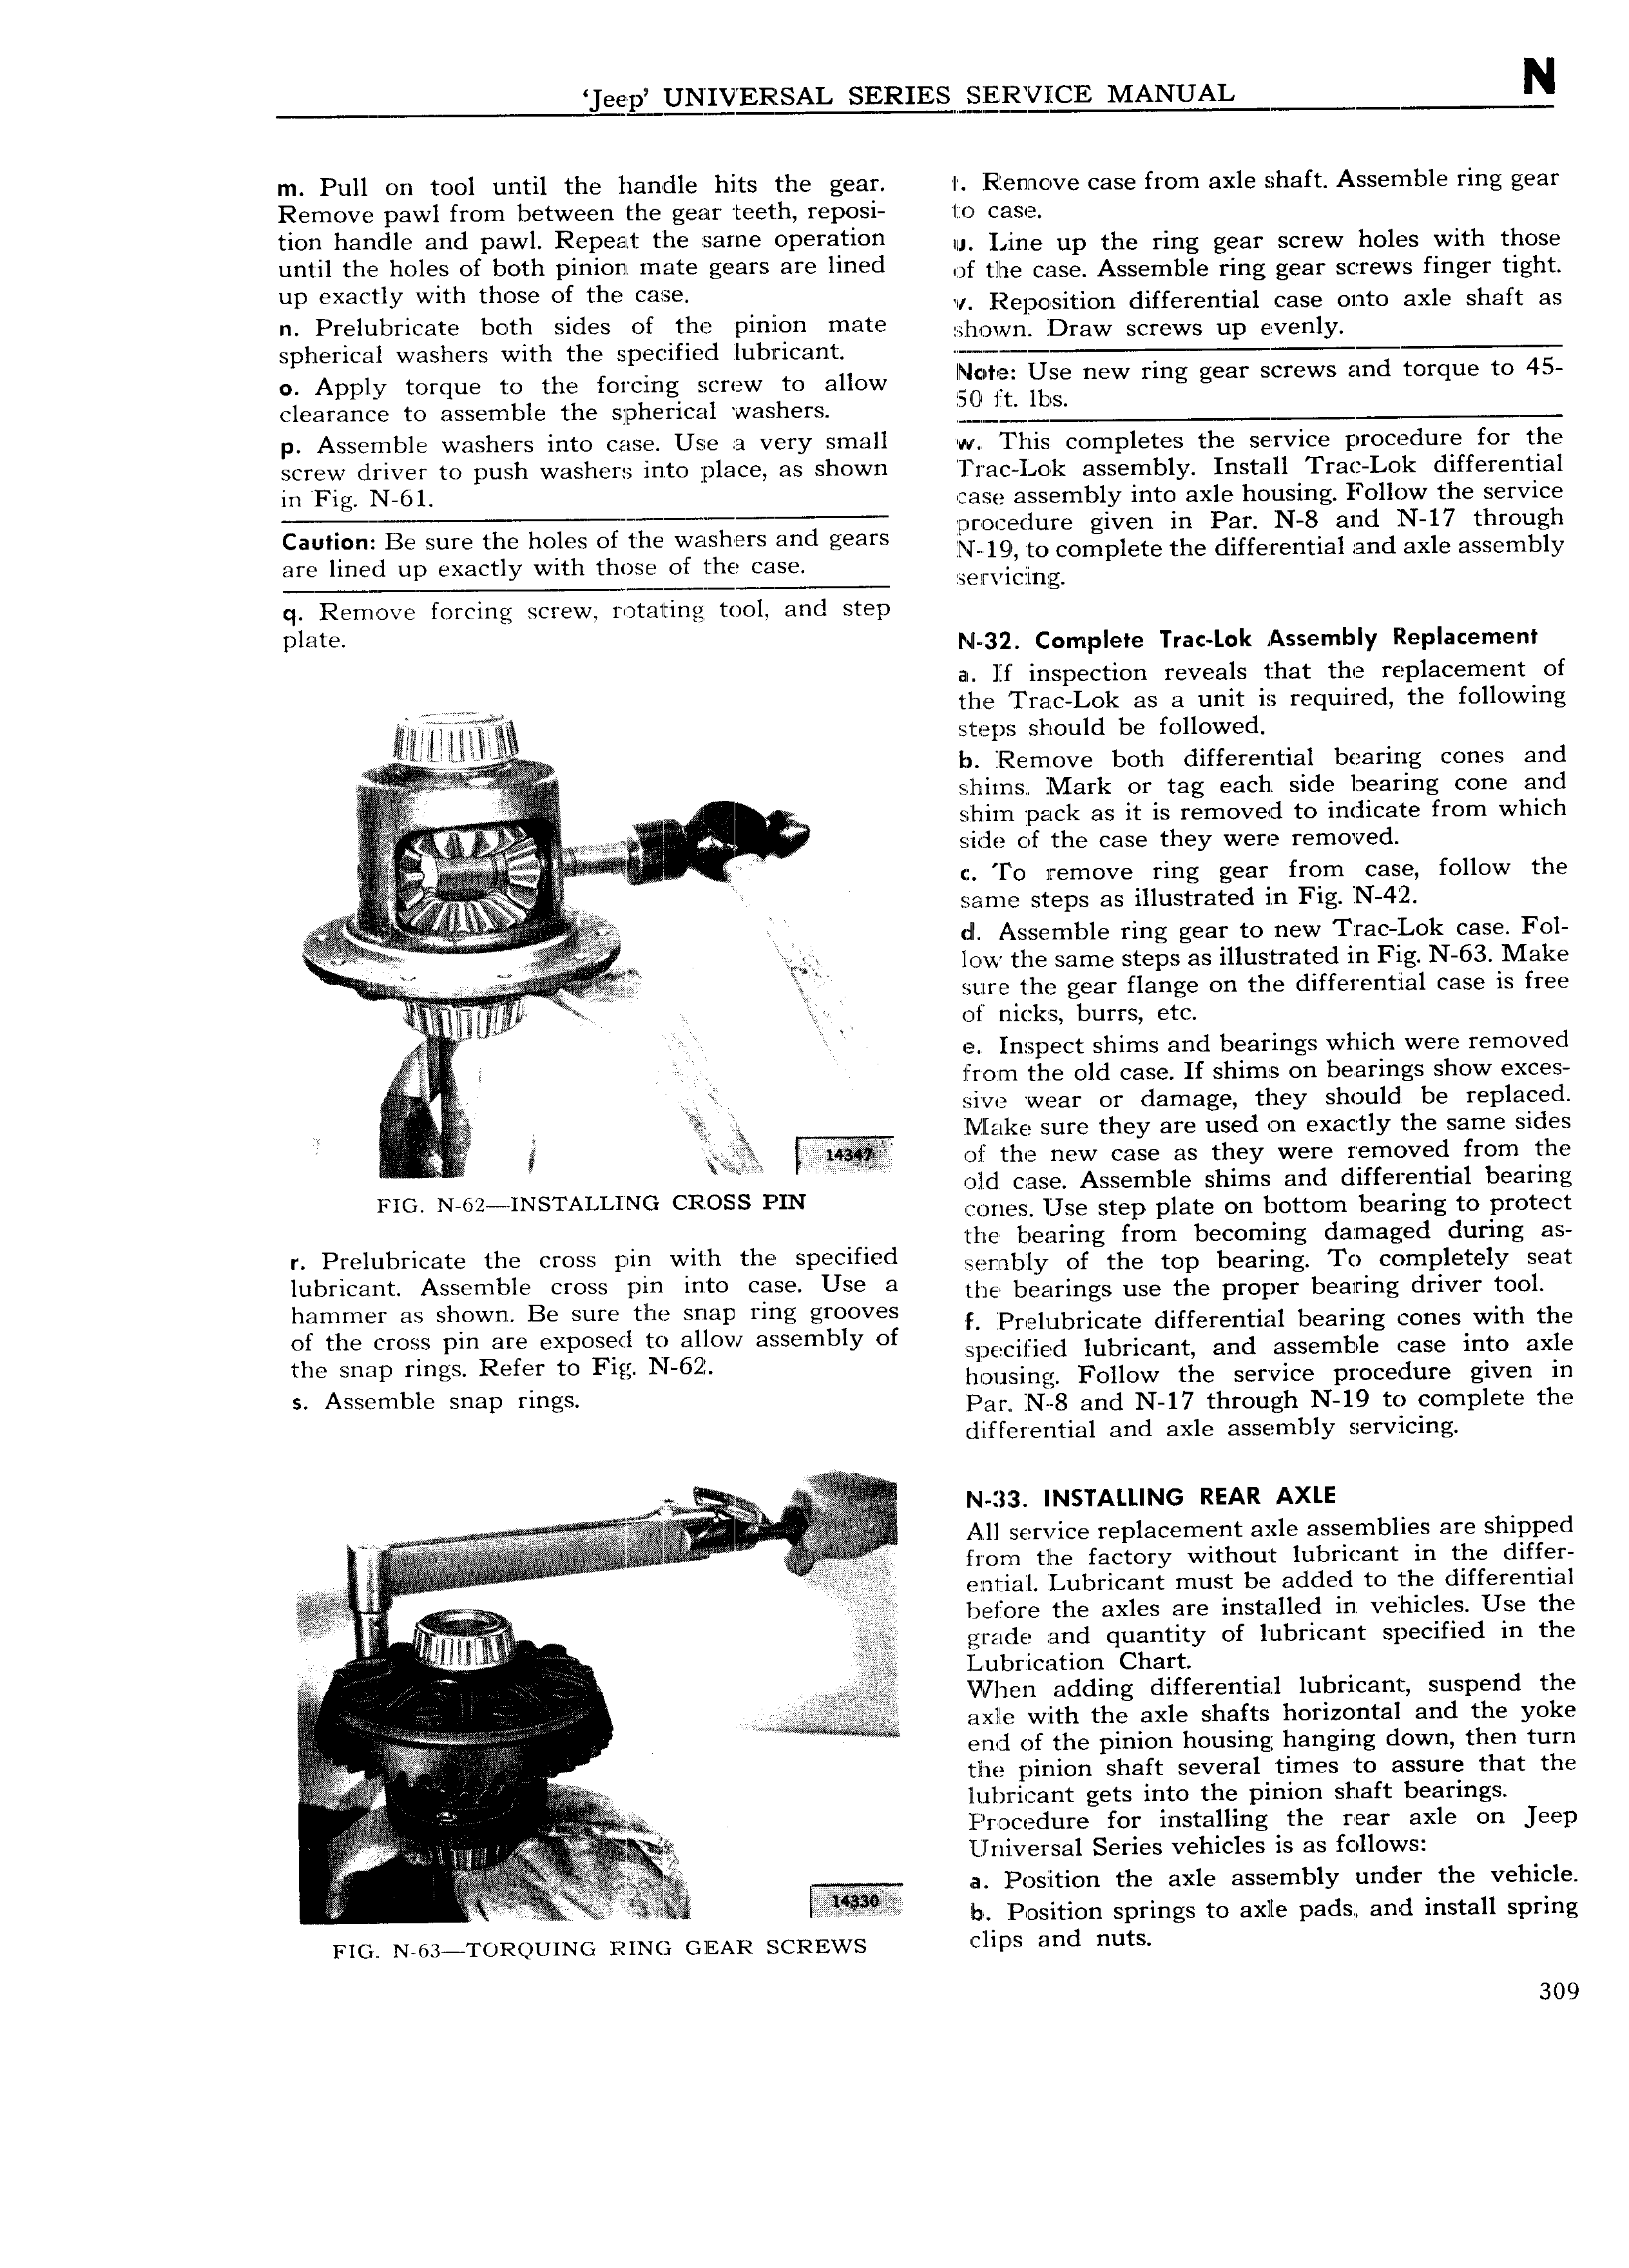
ee l Y lSAL SERIESNESZEIFQCE MANUAL N m Pull on tool until the handle hits the gear iI Remove case from axle shaft Assemble ring gear Remove pawl from between the gear teeth reposi 1 o case tim heiidle e d pewl Repeat the Same eiieretieii il 1 me up the ring gear screw holes with those until the holes of both pinion mate gears are lined of tlqe ease Assemble ring gear screws finger tight up X3Ct1y Wlth these of the Cage v Reposition differential case onto axle shaft as n Prelubricate both sides of the pinion mate hm m Draw Screws up V n y spherical washers with the specified lubricant Apply torque to the forcing Screw to allow Iflcntez Use new ring gear screws and torque to 45 clearance to assemble the spherical washers p ASS I11l l W8Sl l I S i1 1tO Case USB 3 V I y small w This cgrripletes the service procedure for the screw driver to push washers into place as shown T rac Lok assembly Install Trac Lok differential ln Fig N 6l case assembly into axle housing Follow the service Caution Be sure the holes of the washers and gears 3 s1ur Or rsr1 rel lgrfr l1 dN 7 thmggh are lined up exactly with those of the case rr r rrrrrr g p 6 6 6 I er a 3 ax 8 essen y q Remove forcing screw rotating tool and step plate NI 32 Complete Trac Lok Assembly Replacement au lf inspection reveals that the replacement of ir the Trac Lok as a unit is required the following steps should be followed V r b Remove both differential bearing cones and F fr sijhirnsr f ark or tag each side bearing cone and H il r r shim pack as it is removed to indicate from which V Ji am side of the case they were removed if V 0 iremove ring gear from CQSQ fOllOW Tl l llla Q l 5 rr ZJ rr r same steps as illustrated in Fig iN 42 V A dl Assemble ring gear to new Trac Lok case Fol rr Y Y rr r M low the same steps as illustrated in Fig N 63 Make i o r zp kr r sure the gear flange on the differential case is free rr es rr of nicks burrs etc A i e Inspect shims and bearings which were removed i i i 4 froim the old case If shims on bearings show exces er V sive wear or damage they should be replaced i i Q ie r r Vq Nllake sure they are used on exactly the same sides i 5 of the new case as they were removed from the i old case Assemble shims and differential bearing FIC N 62 INSTALL NG CROSS PIN rtones Use step plate on bottom bearing to protect the bearing from becoming damaged during as Pfelubueate the emss lll Wlih the speelfled semb ly of the top bearing To completely seat l b ee t Assemble emss pm mm e se Use 3 the bearings use the proper bearing driver tool hammer as shown Be sure the snap ring grooves F P rl b r d ff r rl b in rr ith th of the cross pin are exposed to allow assembly of V ll U mcg e 1 Hen ld ear g LO es W E the snip rings Refer to Frrr N6 l 5 Zll lE d lubricant and assemble case into axle Q housing Follow the service procedure given in Assemble snap fmgs Par N 8 and N 17 through N 19 to complete the differential and axle assembly servicing rj N 313 INSTALLING REAR AXLE rrr r All service replacement axle assemblies are shipped e t froxin tlhe factory without lubricant in the differ Q T i i i t eni ia l Lubricant must be added to the differential rr before the axles are installed in vehicles Use the 1 ii grade and quantity of lubricant specified in the ii Lubrication Chart e Vifhen adding differential lubricant suspend the i Y r sg axle with the axle shafts horizontal and the yoke r L E A li end of the pinion housing hanging down then turn r A the pinion shaft several times to assure that the i rr lubricant gets into the pinion shaft bearings l Procedure for installing the rear axle on Jeep rlrlivgrsal Series vehicles is HS fC llOW r rtr a Position the axle assembly under the vehicle i sl lb Position springs to axle pads and install spring FIG N 63 TORQUING RING GEAR SCREWS CillD and nuts 309