Ford Parts Wiki | GM Parts Wiki
Home | Search | Browse
|
Technical Service Manual January 1975 |
|
Prev
 Next
Next
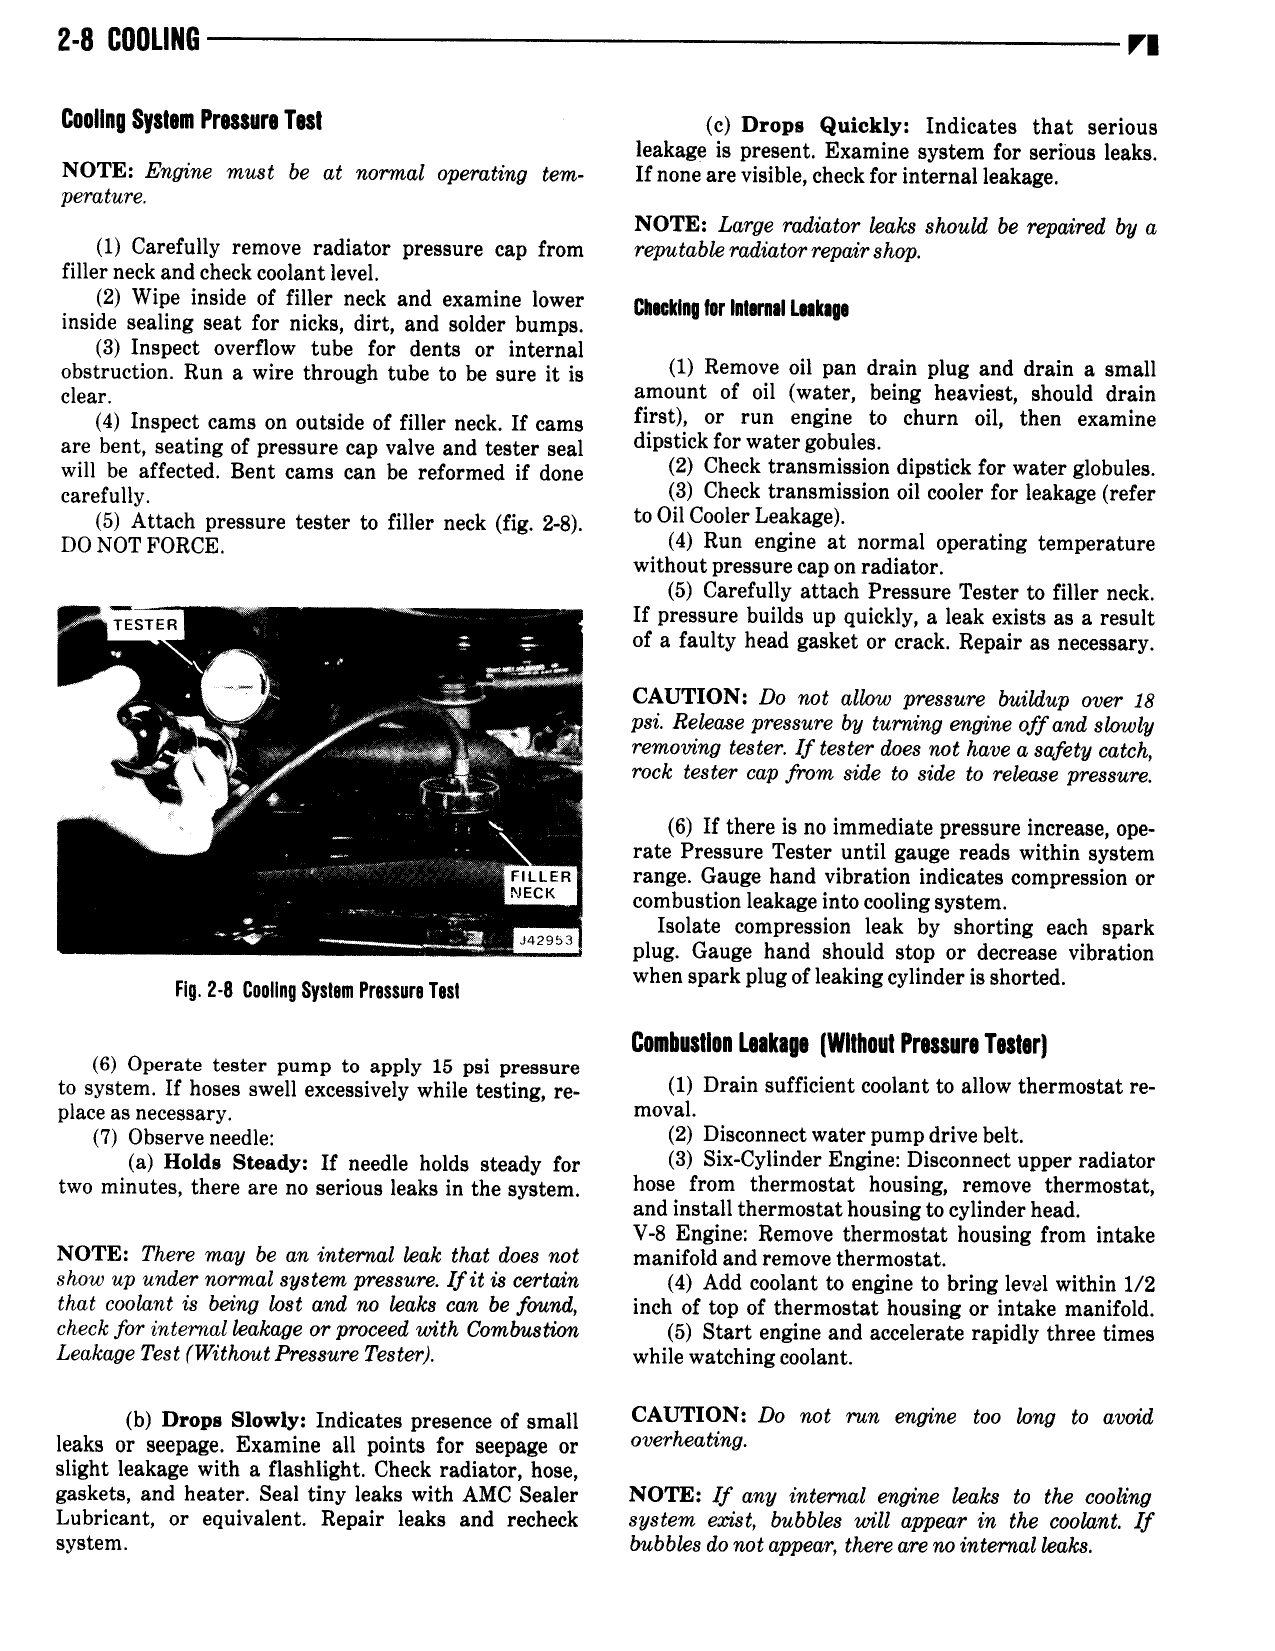
2 8 Cllllllllli VI Clwlllll SYSIIIII FTISSITI T sl c Drops Quickly Indicates that serious leakage is present Examine system for serious leaks NOTE Engine must be at normal operating tem If none are visible check for internal leakage perature NOTE Large radiator kaks should be repaired by a 1 Carefully remove radiator pressure cap from reputabkradiatorrepairslwp filler neck and check coolant level 2 Wipe inside of filler neck and examine lower nmmmhmu mn inside sealing seat for nicks dirt and solder bumps 3 Inspect overflow tube for dents or internal Ohahhchoh ahh s wire through tube hh be SLll 2 at is 1 Remus a PM end smell clean amount of oil water being heaviest should drain 4 Inspect cams on outside of filler neck If cams flrstlg Engine W ihum 1 th m are bent seating of pressure cap valve and tester seal dlpmck fm wa g b l s will be armed Bent ahh csh be rahhheh is amt 2 Check 1 de k fm W cm Efuuy Check transmission oil cooler for leakage refer 5 Attach pressure tester to filler neck fig 2 8 t O lC l L g D0 NOT FORCE 4 Run engine at normal operating temperature without pressure cap on radiator 5 Carefully attach Pressure Tester to filler neck ESTER If pressure builds up quickly a leak exists as a result 1 g of a faulty head gasket or crack Repair as necessary 3 CAUTION Do not allow pressure buihlup over 18 r x L psi Rekase pressure by turning engine off and slowly W removing tester U tester does not have a safety catch j Z rock tester cap from sale to sicle to release pressure T 4 6 lf there is no immediate pressure increase ope i rate Pressure Tester until gauge reads within system range Gauge hand vibration indicates compression or V combustion leakage into cooling system t 7 V Isolate compression leak by shorting each spark mgba plug Gauge hand should stop or decrease vibration HI 2 8 comm sym Hmm Tm when spark plug of leaking cylinder is shorted conlustlon L aka Wuhan Pnssm T r 6 Operate tester pump to a ply 15 psi ressurs to system If hoses swell excessivgly while teszing re 1 Dram sum nt l t W allow th rm t t r place as necessary m l 7 Observe needle 2 Disconnect waterpump drive belt A 3 Hold Steady It needn holds steady for 3 Six Cylinder Engine Eisconnect upper radiator two minutes there are no serious leaks in the system hc le f m th m st h SmZ m th m and install thermostat housing to cylinder head V 8 Engine Remove thermostat housing from intake NOTE There may be an interrml leak that does not manifold and remove thermostat show up under normal system pressure lf it Ls certain 4 Add coolant to engine to bring level within 1 Z that coolant is being lost and no leaks can be found inch of top of thermostat housing or intake manifold check for internal leakage or proceed with Combustion 5 Start engine and accelerate rapidly three times Leakage Test Mthout Pressure Tes ter while watching coolant b Drops Slowly Indicates presence of small CAUTIQN D0 mt W 8 m O0 hwg to w d leaks or seepage Examine all points for seepage or h 9 slight leakage with a flashlight Check radiator hose gaskets and heater Seal tiny leaks with AMC Sealer NOTE H any internal engine leaks to the cooling Lubricant or equivalent Repair leaks and recheck system earist bubbles will appear in the coolant lf system bubbks do not appear there are no internal leaks