Ford Parts Wiki | GM Parts Wiki
Home | Search | Browse | Marketplace | Messages | FAQ | Guest
|
Technical Service Manual January 1975 |
|
Prev

 Next
Next
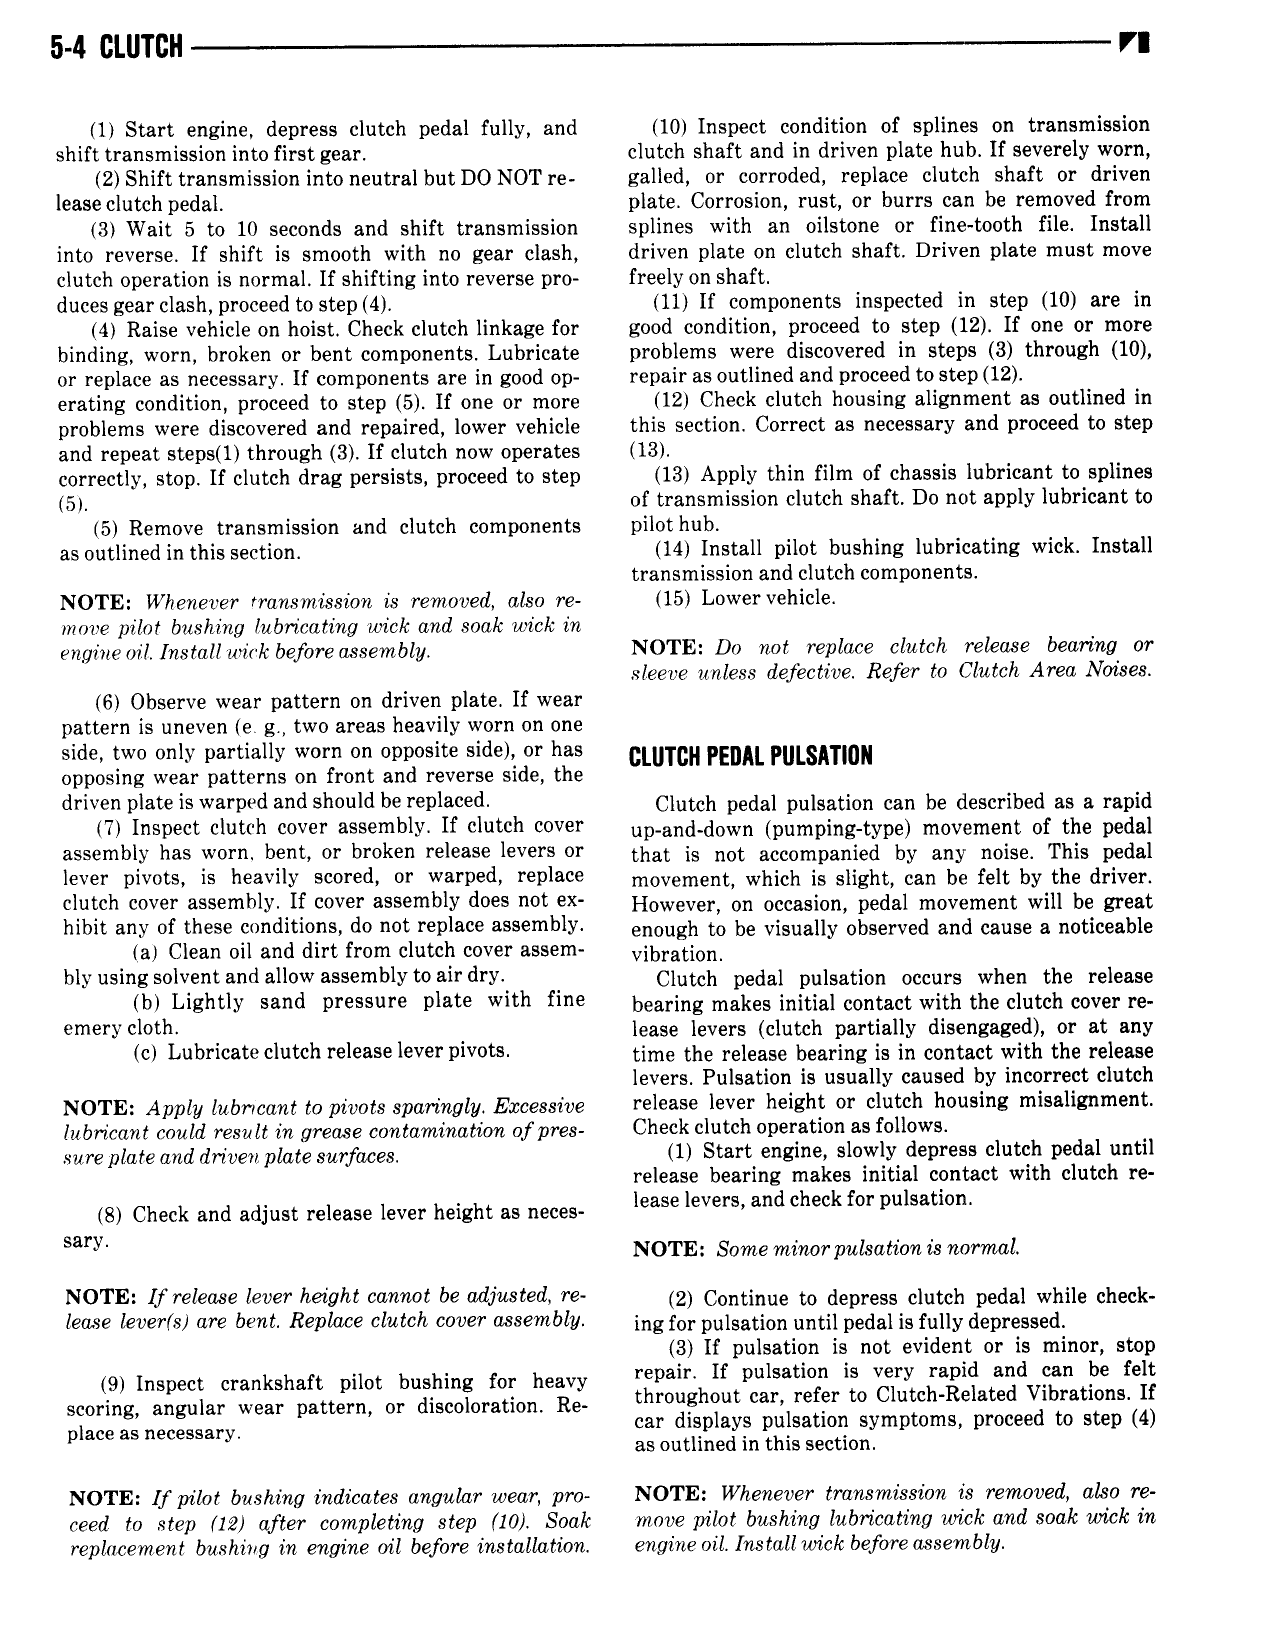
5 4 CLUTCH VI 1 Start engine depress clutch pedal fully and 10 Inspect condition of splines on transmission shift transmission into first gear clutch shaft and in driven plate hub If severely worn 2 Shift transmission into neutral but DO NOT re galled or corroded replace clutch shaft or driven lease clutch pedal plate Corrosion rust or burrs can be removed from 3 Wait 5 to 10 seconds and shift transmission splines with an oilstone or fine tooth file Install into reverse If shift is smooth with no gear clash driven plate on clutch shaft Driven plate must move clutch operation is normal If shifting into reverse pro freely on shaft duces gear clash proceed to step 4 11 If components inspected in step 10 are in 4 Raise vehicle on hoist Check clutch linkage for good condition proceed to step 12 If one or more binding worn broken or bent components Lubricate problems were discovered in steps 3 through 10 or replace as necessary If components are in good op repair as outlined and proceed tostep 12 erating condition proceed to step 5 lf one or more 12 Check clutch housing alignment as outlined in problems were discovered and repaired lower vehicle this section Correct as necessary and proceed to step and repeat steps 1 through 3 If clutch now operates 13 correctly stop If clutch drag persists proceed to step 13 Apply thin film of chassis lubricant to splines 5 of transmission clutch shaft Do not apply lubricant to 5 Remove transmission and clutch components pilot hub as outlinedin this section 14 Install pilot bushing lubricating wick Install transmission and clutch components NOTE Whenever transmission is removed also re 15 Lower vehicle move pilot bushing lubricating wick and soak wick in enyineoil Install wink before assembly NOTE Do not replace clutch release bearing or sleeve unless defective Refer to Clutch Area Nmlses 6 Observe wear pattern on driven plate If wear pattern is uneven e g two areas heavily worn on one side two only partially worn on opposite side or has CLUTCH FED Pulshrmu opposing wear patterns on front and reverse side the driven pleteiewerpeel end Snnnlil berepleeerl Clutch pnnni pnisarinn rnn be described as in rapid 7 Inspect clutch cover assembly If clutch cover no nnd lown onmolnmtyoo movement of tho noolnl assembly has worn bent or broken release levers or that is not nocompaniool by any noiso This pedal lever nlvnte is neevilv scored er iverpedi repleee movement which is slight can be out by tnr driver clutch cover assemblymlf cover assembly does not ex Howovory on occasion pedal movement will bo moot hibit any of these conditions do not replace assembly Enough to he Visually observed ond canoe n noticeable a Clean oil and dirt from clutch cover assem lln ntlon l lv peineenlvenrenrl ellevv eeeeinblvte elrelrvi Clutch peani piiisniibn occurs when the release li Lisnllv rend preppnre plete with fine bearing makes initial contact with ine clutch cover rb emery cloth lease levers clutch partially disengaged or at any el Lnbrieeee elnieli relenee lever piveni time ine release bearing is in contact with the release levers Pulsation is usually caused by incorrect clutch NOTE Apply lubricant to pivots sparingly Excessive release lever height or clutch housing misalignment lubricant could result in grease contamination of pres Check illutvh 0D l 8 l0 HS follows sure plate and driven plate surfaces 1 Start engine slowly depress clutch pedal until release bearing makes initial contact with clutch re iii ami and adjust mms lever height as neces leeee levee endeneelrfer e l n sary NOTE Some minor pulsation is normal NOTE If elelwe lwe heiilihi WWW be adjusted W 2 Continue to depress clutch pedal while check lenee leverte are bent Replace elvlvli cover assembly ingfor pninsiibn until pedal is fully depressed 3 If pulsation is not evident or is minor stop repair If pulsation is very rapid and can be felt SCOJ2 n 3i8sr ih tt t0Eui 0r 0nki al tli throughout car refer to Clutch Related Vibrations If place as necessary car displays pulsation symptoms proceed to step 4 as outlined in this section NOTE If pilot bushing indicates angular wear pro NOTE Whenever transmission is removed also re ceed to step 12 after completing step 10 Soak move pilot bushing lubricating wick and soak wick in replacement bushing in engine oil before installation engine oil Install wick before assembly

 Next
Next