Ford Parts Wiki | GM Parts Wiki
Home | Search | Browse
|
Technical Service Manual January 1975 |
|
Prev

 Next
Next
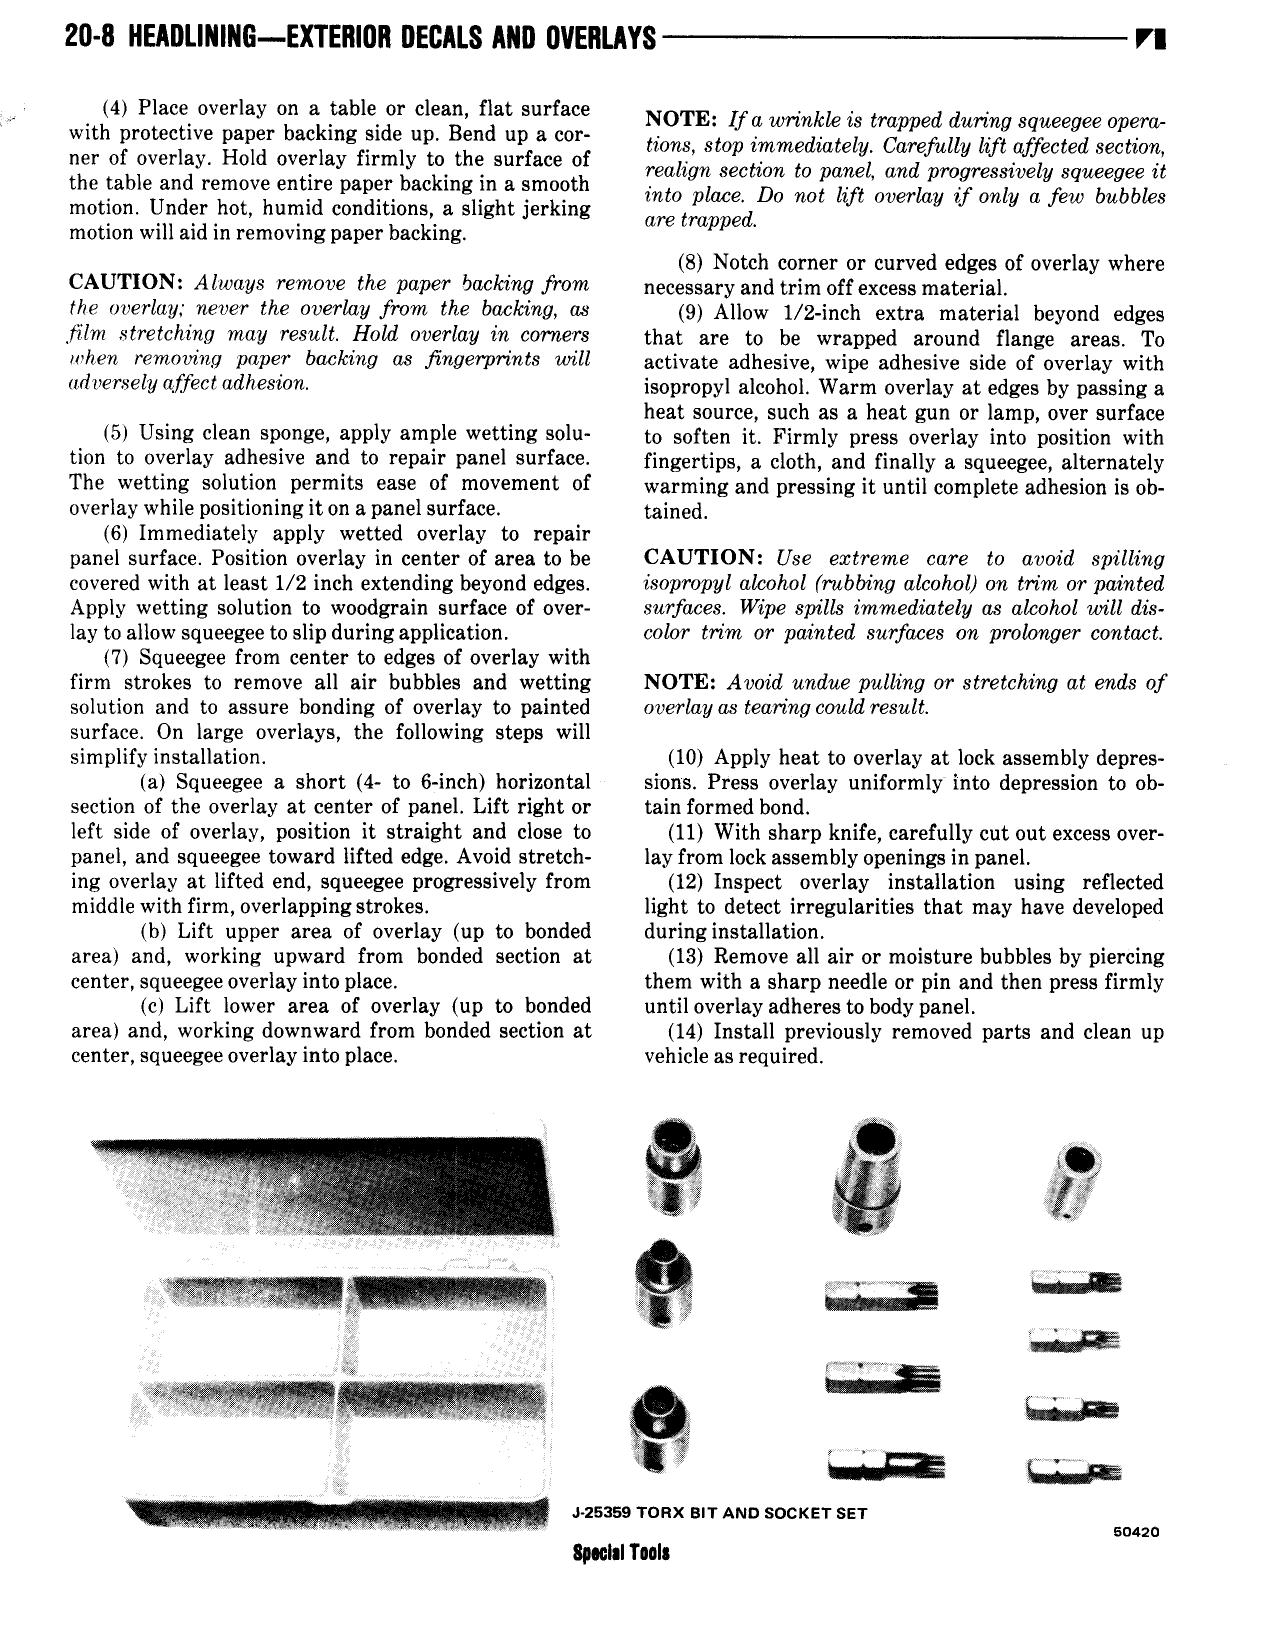
20 8 HEA L l lllG EXTEIIIUR DECALS AIID VEIILAYS VI A 4 Place overlay on a table or clean flat surface NOTE UG wrmkk is trapped during Squeegee Opera wth prowuwe paper bgckmg Flde up Bend up 8 r tions stop immediately Carefully lift affected section ner of overlay Hold overlay firmly to the surface of mah section to and and M Tessi L 2 the table and remove entire paper backing in a smooth gn P P ve V sqwegee l into place Do not lift overlay if only a few bubbles motion Under hot humid conditions a slight Jerking are trapped motion will aid in removing paper backing 8 Notch comer or curved edges of overlay where AUT 0N Always remove the paper booking from necessary and trim on excess material the onerlrlux never the overlay fiom the booking oe 9 Allow 1 2 inch extra material beyond edges film stretching may result Hold overlay in owners that are to be wrapped around flange areas To l lt lt m0t llll1 Paw blwkltlg G5 flrl9 7 P l l S will activate adhesive wipe adhesive side of overlay with fltlllemellr lll Gl lldlleslim isopropyl alcohol Warm overlay at edges by passing a heat source such as a heat gun or lamp over surface 5 Using clean sponge apply ample wetting S0l 1 to soften it Firmly press overlay into position with tion to overlay adhesive and to repair panel surface fingertip n nl0 n and finally a Squeegeel nlternntely The wetting solution permits ease of movement of warming and pressingituntil complete adhesion is ob overlay while positioning it on s panel surface tained 6 Immediately apply wetted overlay to repair panel surface Position overlay in center of area to be CAUTION Use extreme care to avoid spilling covered with at least 1 2 inch extending beyond edges isopropyl alcohol rubbing alcohol an trim or painted Apply wetting solution to woodgrain surface of over surfaces Wipe spills immediately as alcohol will dis lay to allow squeegee to slip during application color trim or painted surfaces an prolonger contact 7 Squeegee from center to edges of overlay with firm strokes to remove all air bubbles and wetting NOTE Avoid undue pulling or stretching at ends of solution and to assure bonding of overlay to painted overlayas tearing could result surface On large overlays the following steps will simplify installation 10 Apply heat to overlay at lock assembly depres a Squeegee a short 4 to 6 inch horizontal sions Press overlay uniformly into depression to ob section of the overlay at center of panel Lift right or tain formed bond left side of overlay position it straight and close to 11 With sharp knife carefully cut out excess over panel and squeegee toward lifted edge Avoid stretch lay from lock assembly openings in panel ing overlay at lifted end squeegee progressively from 12 Inspect overlay installation using reflected middle with firm overlappingstrokes light to detect irregularities that may have developed b Lift upper area of overlay up to bonded during installation area and working upward from bonded section at 13 Remove all air or moisture bubbles by piercing center squeegee overlay into place them with a sharp needle or pin and then press firmly c Lift lower area of overlay up to bonded until overlay adherestobody panel area and working downward from bonded section at 14 Install previously removed parts and clean up center squeegee overlay into place vehicle as required 4 sm ra l s o it at l or o 2 r as us LLJE J zsass ronx srr Ann sucker ser p cIaIT Is

 Next
Next